Instructions for Frankentine Bobblehead Paper Model
These
instructions are written for the quickest assembly time.
I recommend
20 LB - 24 LB paper for this model.
Fold each leg in half, crease and glue.
I lay the glue on a bit thick then use a piece of plastic to squeegee
it out.
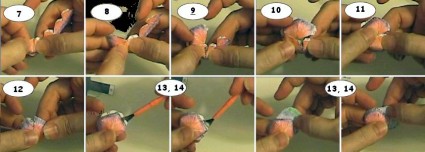
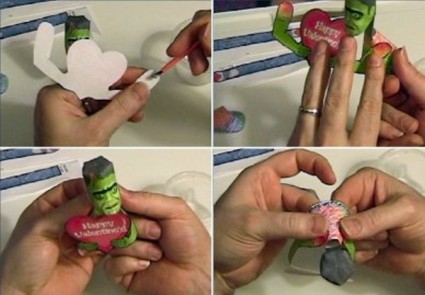
The
tabs on the head 1-6 are rather obvious but bit tight.
The points need to meet in the middle and the outer edge needs to be square
on the sides.

Tabs 4 and 5 are kind of hard but just hold them tight until the glue
dries.
Then when you do tab 6 you can push out any dents and shape the head into
a cylinder.
If it doesn't come out perfect you can color it with a felt tipped pen
or he can ware his hat.
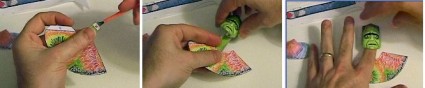
So now it is time to build his hat while the glue on tab 6 dries.
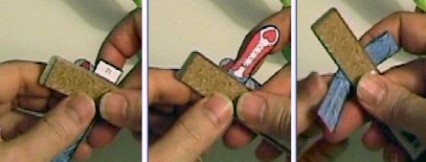
Valley fold taps 13 & 14 before gluing tabs 7 - 12. This goes together
much easier than the head. Just follow the tabs in order.
When I put the bill on to the cap I put glue on both tabs 13 & 14 but
I still hold them dry one at a time.
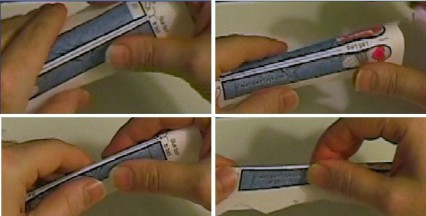
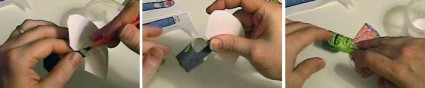
Here is the clever bit that makes this a bobble head model work.
It's a paper spring. The trick is that you glue both ends but not the
middle of 2 strips of paper.
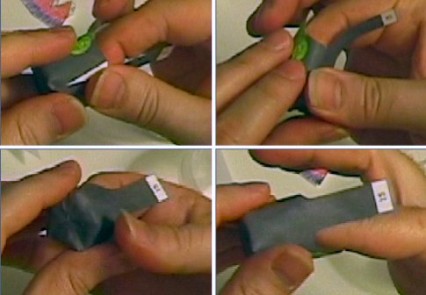
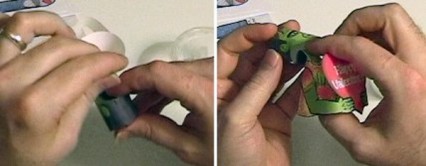
Glue the back of tab 15 to the inside of the back of the head. Use your
finger to hold and shape the tab as it dries.
Then Glue the back of tab 16 to the back of the shirt / body.
Let that dry before wrapping the shirt into a cone and gluing tab 17.

Pinch
the chin lightly so the face does not look too wide.
Tabs 18 & 19 are the backs of the arms. Glue them on to either side of
the shirt.
Here is a place where character is built. You can set the arms more to
the left or right, further forward or further back. Turn one arm up more
than the other so the heart will twist a bit.
I like to rotate the arms so that the base of the heart is level with
the bottom of the shirt.
The legs should be dry enough to cut out by now.
Valley fold tabs 20 and 21.
Valley fold the feet above the shoe and mountain fold the knees.
This is another place for Frank to show a pit of personality.
I like to center the legs close together, but he will sit differently
if you put one leg off to one side.
OK, FrankenTine is almost done. It's time to make his head bobble.
Turn him upside down with his back facing towards you.
Bend the spring at th base of his skull and push the spring into his head.
Now reach in from the front of the head and sharpen the bend at the tip
of the spring.
Depending on where the crease is set will determine if he looks up or
down.
Push down on the head many times to make it springy.
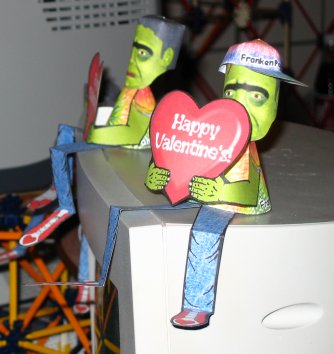
Happy Valentines!!
![]()