Dracula Free Paper Model Bust
Frankenpaper needed a friend! Another classic monster, this time Dracula! If you made the Frankenpaper paper model bust, you should have no trouble with this one! Have fun building this Dracula paper model or Mask and display it for Halloween!
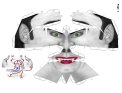
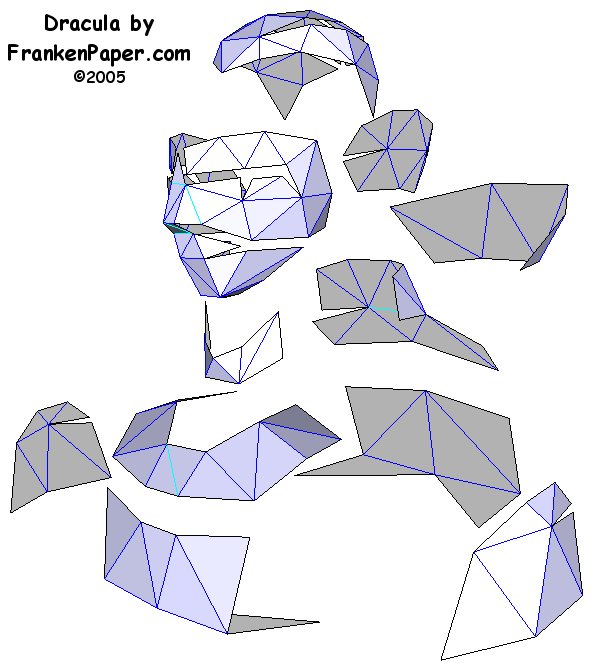
With this paper model I tried to respond the emails I received about my FrankenPaper model. Most of the email complaints that I received, said that the eyes and eyebrows were too complex. So I did my best to simplify my Dracula. I even added a diagram to each page showing which tabs to fold.
I wanted this paper model to be as mistake proof as I could so I thought I would try publishing it as 2 PDF files. The first PDF file is pages 1-5 and the second PDF file is page 6 which is printed on the back of page 5. I did it that way so people would not accidentally waste ink by printing page 6 on a blank page.
Download and Print Pages 1-5
Download Page 6 and Print it on the back of page 5. It was designed so it will line up correctly right side up or down, as long as you print on the back of page 5 and not the front.
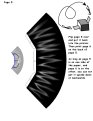
Face
Pages 1 & 2 are the color pages.
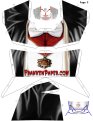
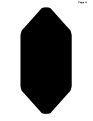
Collar, Chest and Left Shoulder.
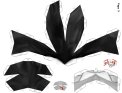
Hair & Neck
The rest of the pages can be printed in black and white
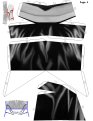
Back of Neck, Back and Right Shoulder.
Page 6 is printed on the back of page 5.
As long as it's printed on the back you can't get it upside down.Paper:
So far my models have been designed to be printed on plain paper, 20-24 LB, ink jet quality. They should print just as well on a laser printer but still plain paper and not card stock.
Glue:
I recommend a white glue like Elmer's. I keep it in a small covered bowl and I thin it with a little water. I use a small cheap plastic paint brush to apply the glue.
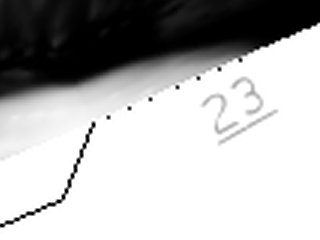
Dots:
Because much of this model is white (or close to it) I have added dots to show where the model ends and the scrap paper begins. When cutting out the model cut away the dots.
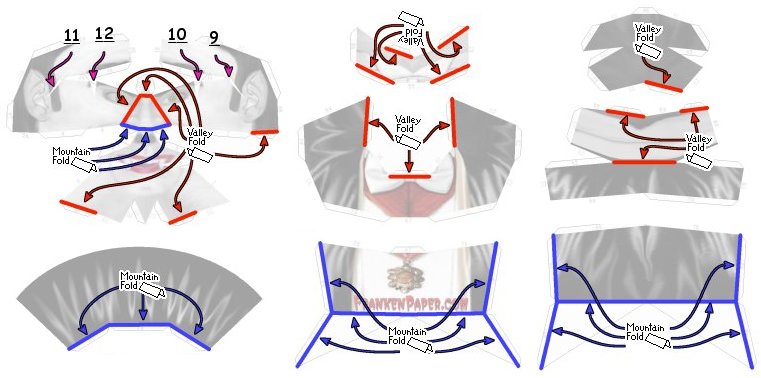
Folding:
I have added small pictures to show where to fold before you begin to assemble the model.
For the most part, just follow the numbered tabs, and it should go together fairly well.

![]()